My Rainbow Mini quilt started with an evening making scrappy stars from fabric scraps with dots - my partner specified she liked dots! There was no further plan than that.

Playing with the stars gave two options:
Layout 1

Layout 2

Luckily I noticed that the rainbow colours were in the wrong order before I stitched the stars together. I opted for Layout 2 for my partner, but think I will make another one for me that is based on Layout 1.

Each finished square is 1".

Now what to do .......

I had some other star bits on my design wall so put them together so they would fit in the bottom left hand corner.

Lots of angles and bias edges to work with ...

I was very happy when it got to this stage!

Tiny little stars!

Now how to quilt it? It sat like this on my frame for over 2 days!

I decided to be brave and try some ruler work to pick out the step like effect of the stars.

I was really happy with how this turned out and may, just may, become a convert to ruler work!!

I echoed the first step line and then walked away not sure what to do next. In the end I decided to go for some feathers as a contrast to the geometric shapes already quilted.

Something different on the other side or a mirror image? Well not an exact mirror image but similar! I quilted a copy of the star in the bottom corner into the top and then put in another long feather.

Each time I did another portion of quilting it amazed me how it changed the quilt. I thought I would then do pebbles between the feathers and the straight lines. I started at the top of the quilt, did about a dozen pebbles and then the thread broke. I am really glad that happened because I totally changed mind ....

I quilted horizontal matchstick quilting between the feathers and the central panel and vertical matchstick quilting between the feathers and the outside stars. I also went back and put in another couple of feathers fronds in places where lines weren't easy to fill in and where it just appeared to puffy!

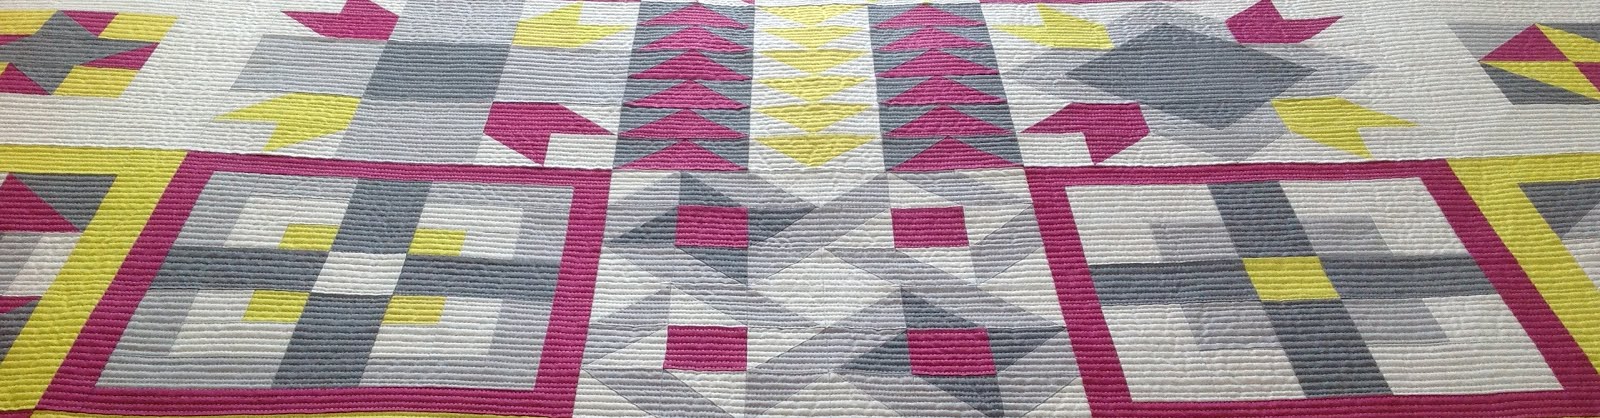
The outside stars were again quilted with a ruler using echo quilting.

All the quilting in the negative space left the central star panel rather raised. I wasn't sure what to do in it. I had a couple of ideas but because the stars were scrappy several of the designs I thought about would have looked funny and inconsistent. In the end it was more step lines and then echoing.

So close - I love it when a quilt gets to this stage!!

And the end result - I really liked how this turned out in the end and was quite sad to have to package it up. I haven't yet started on the one for me but I hope I do!


I am so happy to see this finished! It turned out gorgeous! Love your quilting...you nailed it! I'm itching to make some wonky stars now! So perfect!!
ReplyDeleteI really like this: the stars are cute and it's amazing how each step in the quilting process transformed things. I bet your partner will be thrilled.
ReplyDeleteWow! The quilting really makes this one look amazing.
ReplyDeleteAmazing skill! Love the large star block in the corner, I think that was a great design decision :)
ReplyDeleteOH MY! What a gorgeous quilt! Well done!
ReplyDeleteThis is just darling! Wish it was mine! :)
ReplyDeleteThat turned out just super!! Love the quilting on it, great designs!
ReplyDeleteThanks for all the process shots. I love the look of non standard quilt blocks in a quilt but never quite sure how to make then into a unified look. And what a stunning outcome!! The quilting and design are amazing.
ReplyDeleteWow that is so lovely!
ReplyDeleteAwesome. Thanks for sharing the steps. micki@2dogsstudio.us
ReplyDeleteBrilliant work, thanks for sharing your inspiration and work in progress shots.... Fabbbbb xx
ReplyDeleteI haven't seen that layout before, it's lovely, very different to circles. I really enjoyed reading about all the different steps, and how you made your decisions. Love the quilting.
ReplyDeleteGreat post. Love the design and the quilting. And the fabric. Guess I like all of it! Thanks for sharing.
ReplyDeleteWow, this is beautiful, and it's so great to see it 'in the making' as it were, thank you so much for sharing and for all the great pics!
ReplyDeleteThat is fabulous! I love the design you came up with
ReplyDeleteThe quilting is beautiful
ReplyDeleteThe quilting is beautiful
ReplyDeleteThat is an absolutely awesome quilt! I keep looking at it and trying to take it all in. Quilting takes it over the top. Love the piecing and the way you arranged your blocks.
ReplyDelete